Poster Size Photoshop Guide
This page assumes that you are looking to set up your poster size within Photoshop to design a poster.
Poster size Photoshop setup requires a few things.
- Firstly if you haven’t already check out our standard poster size section and choose the poster size that you will be using to create your poster.
- Determine what the bleed of your poster will be. The bleed is a term used to describe the area around the poster that may be cut off when printing. Imagine that you are dealing with a printer that is not always accurate to the exact inch of your document in this case there is a chance that the printer may cut off a small portion of your image to avoid this issue designers have developed a way to insert the leads or spaces within the document to make sure that nothing is cut off.
For posters I personally use a quarter of an inch as the bleed and for smaller sizes sometimes 1/8 of an inch. Here is an example of an 11 x 17 beed.
11” x 17” sheet —> 11.25” x 17.25”
- Open up Photoshop! Here is where the setup will happen.
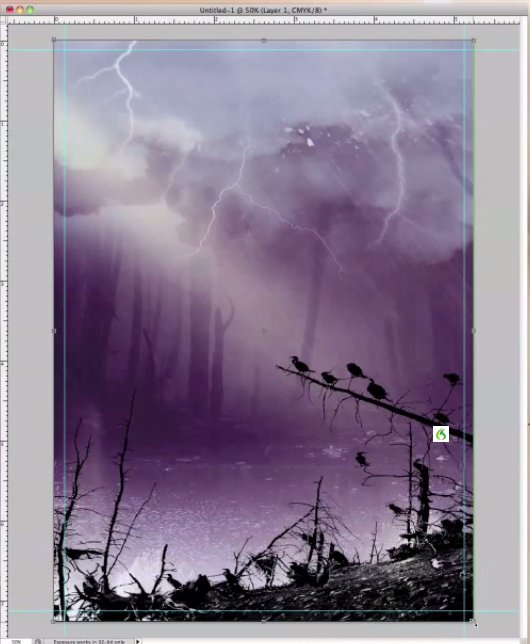
– final file preview for poster size photoshop
– final file preview for poster size photoshop
First Step
When you launch Photoshop go in and choose “file” then “new” to open a new document. You will then be able to set your new documents size and resolution. Do not forget to add the bleed of your document directly within the document size as mentioned above in number two.
Go ahead and click okay to create the file.
If you have an existing file all you have to do is select [open] choose [image] then [canvas size] and set your width and height of the canvas to include the bleed then click okay.
Second Step
Go to [view] and choose [rulers] if your rulers are not already visible.
Third step
If you click on the horizontal ruler you will be able to drag a new guide onto the document you can then go ahead and align it with the measurements that aligns with the top side of your print and then continue and duplicate this process for the bottom. This will allow you to visualize exactly where the leads are on your document so you know where not to put content.
Fourth step
Make sure that you extend content into the bleed area but do not have any essential text near the bleed area as there is a chance this will be cut off.
You should now have your perfect bleeds and be ready to take your poster to the printer or create a new poster thank you for reading and if you have any questions feel free to comment or send me an email.
This was a guide on the subject poster size Photoshop please see our other guides.
Cheers,

Get Excited!
can i use the paper sizes in photshop to create posters as well??
612px x 792px bu boyutlarda piksel olarak çalışabilirsiniz ?